Hello everybody, hope you’re having an amazing day today. Today, I’m gonna show you how to make a distinctive dish, easy braised "teriyaki" chicken. One of my favorites food recipes. For mine, I’m gonna make it a bit unique. This will be really delicious.
This Easy Teriyaki Chicken Recipe tastes better than takeout. Moist and Juicy Chicken thigh glazed with a sweet and flavorful sauce!! Check out this easy to make recipe made with simple ingredients.
Easy Braised "Teriyaki" Chicken is one of the most popular of recent trending meals on earth. It is enjoyed by millions every day. It is simple, it is fast, it tastes delicious. Easy Braised "Teriyaki" Chicken is something which I’ve loved my entire life. They are nice and they look fantastic.
To begin with this recipe, we have to first prepare a few components. You can cook easy braised "teriyaki" chicken using 9 ingredients and 6 steps. Here is how you cook it.

The ingredients needed to make Easy Braised "Teriyaki" Chicken:
- Prepare 3 pounds chicken wings, drums or thighs, patted dry and seasoned with 3/4 teaspoon kosher salt
- Get 1/2 an onion, cut into 1/4-inch wide pieces
- Get 6 thin slices of fresh ginger root (about 1/8-inch thick) or 1/2 teaspoon dried ginger powder
- Take 6 cloves garlic, peeled and smashed
- Take 1/4 cup + 2 Tablespoons soy sauce
- Take 2/3 cup rice wine (you can use sake or a semi-dry white wine)
- Prepare 1/4 cup + 2 Tablespoons sugar
- Take 1/2 cup water
- Take 1 chopped green onion for garnish
Serve it up with a side of steamed rice and broccoli and make your mom. Teriyaki Chicken is loaded with mouthwatering sticky, savory and slightly sweet chicken. While there are so many variations, since discovering this recipe for Easy Teriyaki Chicken, I've honestly stop using any of them, because it produces great results with much less effort, and so I wanted to share it with all of you. As for the sauce, the teri in teriyaki.
Steps to make Easy Braised "Teriyaki" Chicken:
- Put all the ingredients into a 4 or 5 quart Dutch oven or a large, deep saute pan, with the chicken skin side down. Bring to a gentle boil, covered, over medium heat.
- Once it comes to a gentle boil, let it stay there for about 2 minutes. Give the chicken a gentle stir or two to redistribute the ingredients then turn the heat down to medium low and simmer, lid askew for another 25 to 30 minutes, flipping the pieces of chicken mid way so the skin side is up.
- 15 minutes before the braise is over, preheat your oven broiler so you can brown and caramelize the chicken skin. Once the braise time is up, put the chicken about 6 inches under the broiler for 3 to 5 minutes, depending on how brown you want the skin, but making sure to check at 3 minutes. I say this all the time, but things can go from perfectly caramelized to horribly burnt in a matter of seconds under the broiler.
- NOTE FOR STEP 3: If you have one of those broiler drawers under the oven, preheat the oven to 500F instead and place the pot so that the food is 6 inches under the top heat element. Probably the second rack in the oven.
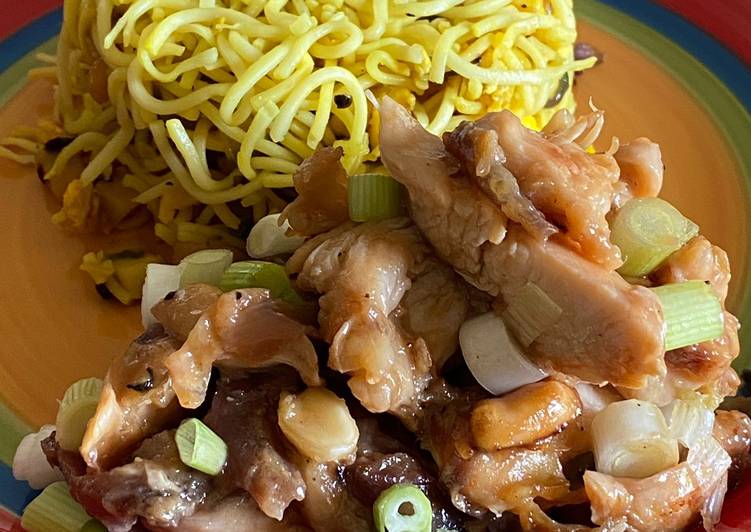
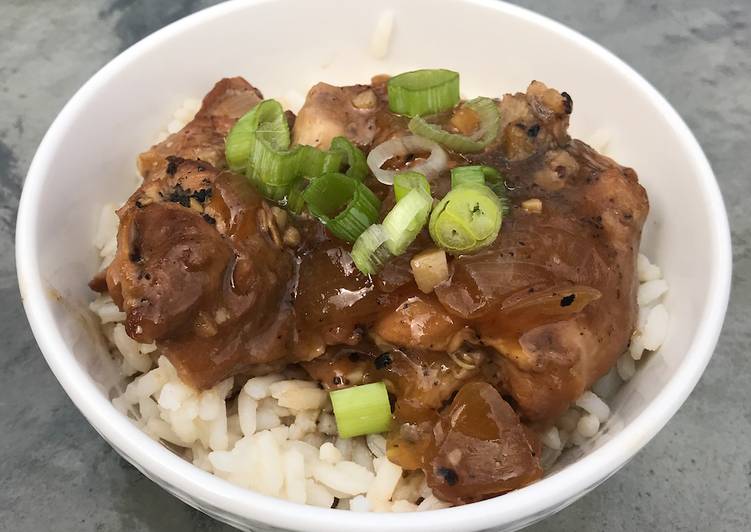
- Transfer the chicken to a serving dish (or serve it in the pot in which you cooked it), garnish with chopped green onions and serve with steamed rice and a salad of choice.
- Enjoy! :)
Serve it with sticky rice and steamed greens. Classic Chicken Teriyaki prepared in the authentic Japanese cooking method. Prick the chicken: In Japan, bone-less, skin-on chicken thighs are a preferred. Chicken Dinner Main Dish Asian Japanese Healthy Soy Sauce Vegetable Oil Ginger Chicken Breast Chicken Thighs Honey Scallions Weeknight Dinner Easy. Jjimdak Korean Braised Chicken Recipe & Video.
So that is going to wrap it up for this special food easy braised "teriyaki" chicken recipe. Thanks so much for your time. I am sure you can make this at home. There is gonna be more interesting food in home recipes coming up. Remember to bookmark this page on your browser, and share it to your family, colleague and friends. Thank you for reading. Go on get cooking!